Monday, June 24, 2013

Whoa!

Lately, here in the Northwest we have had nothing but rain.  And I am talking about heavy downpour, get out the oars kinda rain. 
But what's amazing about Summer rain around here, is the beautiful sun kissed bursts of clouds. Whoa..


Check, and Check


Back splash done... check.
Mirror installed, err..semi check.
 Had the oval mirror on hand so we hung it temporarily for now. We thought we'd leave the wall empty til we found a mirror but it felt so closed in, claustrophobic.  Would still either like to make a larger, more substantial mirror or purchase one at an amazing price.  This one will work for now...and you can't beat free!  We had a lot of extra tile left so probably will wrap the top side of the shower stall.  For now...its done..check.


Monday, May 6, 2013

Vanity Install

 As you recall from the previous post, I promised an update on the vanity install:


The before. Disconnecting the plumbing.


Taking the old vanity out, see what I meant by how the previous owners didn't tile underneath?


Setting the new one in and leveling....


This is where it got difficult... the new vanity had sets of drawers on the sides, so the hubs had to cut new holes and shorten some of the shelves..


After adding the granite top. The vanity came with top and Kohler faucets! 


I had purchased this glass tile over a year ago... I think it will work well as a back splash.


Changed out the hardware and added these. The old hardware were a pewter leaf design.


Here it is in all its glory! Had to remove mirrors since they don't center with the light fixtures or faucets. That is our next DIY project... making one, long mirror.


Friday, April 26, 2013

Working on My Vanity


 No, it isn't my personal vanity issues that have been 'fixed'. I wish:/

It is the main bath vanity that resides in my
home. It had some issues that needed work as well:


From the picture it looks great. I wish I had pictures from when we first moved in. The faucets were basic, cheap cheap. The medicine cabinet was a huge mirrored nightmare, and the lights were the oh, so loved light bar.
We did upgrade quite a bit... the problem you ask?
The vanity height is 31", the cabinet is laminate, and although I love walnut countertops..in the bathroom, it's a little too much up-keep for this OCD gal.
I think the height had to be the worse though...
We looked at double vanities like this from Home Depot

But at $1498, it was a little steep.
So then I was thinking maybe to do two separate sinks like this from Lowes
allen + roth 24-in Espresso Foley Single Sink Bathroom Vanity with Top

$239, not bad... but the measurements would have to be right on since it's surrounded by walls.
The hubs also wanted more storage capacity. So we kept shopping.

Then the bad news. The previous owners did not tile under the cabinet! Yes, we could rip up the tile and retile with new stuff, that ya, I would have loved to do if it was on someone else's dime, ha!
This 'quick and easy' project was turning into a major under taking, and we weren't ready for it, both physically or financially.

So, with that in mind, we had to find a 60" vanity that went down to the floor, with storage.. and at a reasonable price..

Then came my third thought: Find a buffet/dresser and make my own. Like this:
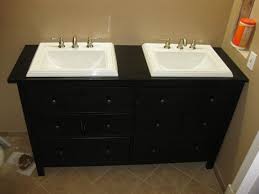


Again finding the right dimensions was near impossible.  Craigslist, yard sales, thrift stores were my closest friends for months.

Then... a nice surprise came our way via Craigslist.... a double sink vanity with the right dimensions! Yes!

Was it the perfect color? Not really. 
Did it come with some problems? Uh, ya.

Next post will answer these questions and show you what we ended up with:)


Sunday, March 17, 2013

Putting Up Walls

No, this isn't a post about my emotional issues, haha. I actually put up a wall, a half wall, so as to have some separation from the dining room and entry. A faux mudroom lets say..


I taped off a section (a pretend wall), to see if I liked the the height and length. I lived with this for a few days to make sure. 


The hubs started with a frame and stapled bead board on. We added molding and capped it with a top...


After sanding, caulking, and painting we had a half wall.


I added hooks for coats, leashes etc... makes more of a 'mudroom' feel. I still want to make an IKEA trip to find some sort of shoe cabinet/bench for storage and of course somewhere for our butts to sit to put on/off our shoes.


Sunday, November 18, 2012

Holiday Pics


This was last year's (2011) Holiday photo. As you can tell, I jumped on the mustache trend for this one.

 While visiting my sister's place this past week, I noticed she had a collage of family photos from our childhood. I was reminded of how our  pictures were either black n white, an orang-ish tinge, or the infamous Polaroid.  So with that, came the idea of retro pics for this year's Holiday photo..


Wonder what next year will bring?  This has started an annual tradition....meez thinks...

Random Projects

In the past few weeks I have been going a little crazy with trying to finish small projects here 'n there. I painted this 'jump in the lake' sign for the Hope Haus:


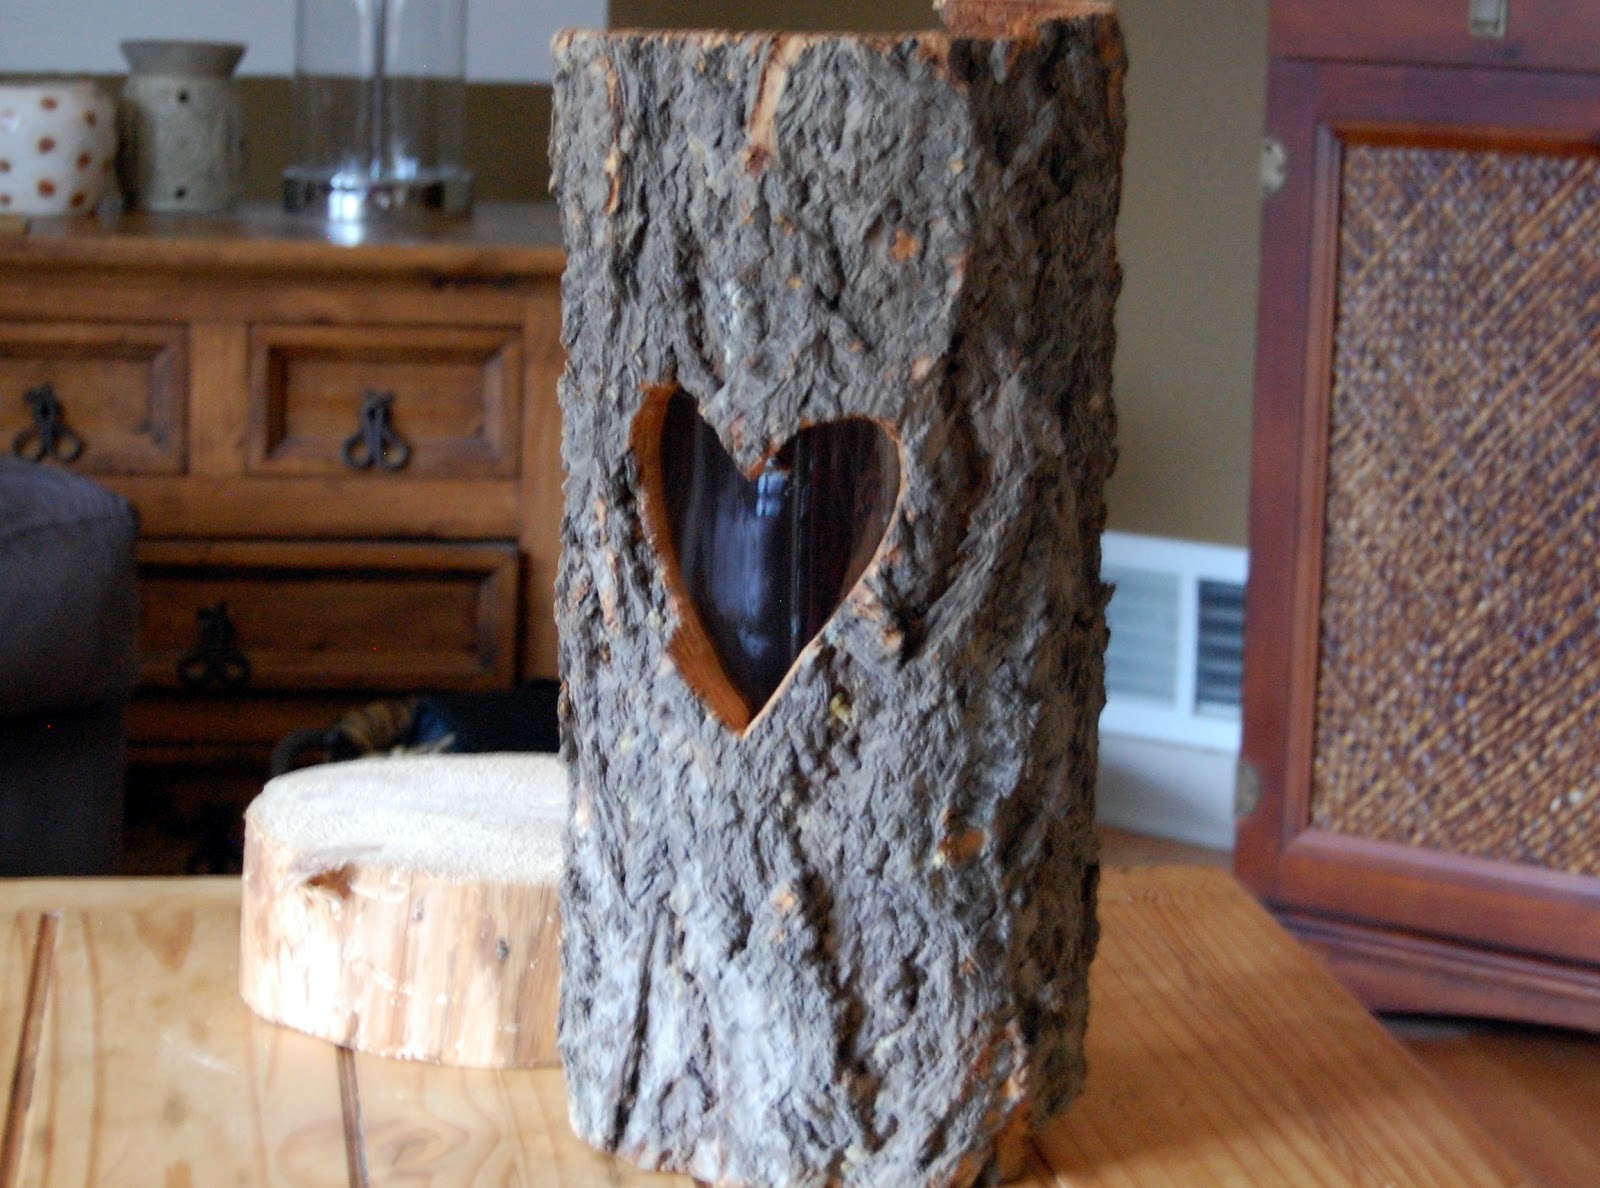
At the house in Noxon, MT, I had the ole hubs jigsaw a heart shape into a piece of bark.  I then inserted a glass hurricane within the bark along with a candle....ooolala.  It'll look awesome at night..


Keep checking back for more project/craft updates.  I think I will be working on how to add a touch of Holiday without going overboard :)