We sold the house!
Funny to think, or maybe somewhat silly since we have done so much work to the house, then decide to sell it. Honestly, it was with a heavy heart making that decision. I loved this house... But there were a few things that helped me..us..make the decision, that this wasn't our forever house.
We will be at our other house, our rental in NW Montana till we find another house, the 'forever' house, the last time we move! Anyone else hate moving? I used to love it... Not so much anymore.
I will miss the views.... The lake and the community. The couple who bought the house seem perfect for the beloved 'Hope Haus'.... And seem to have some great ideas to enhance her. I will be excited to drive by once and awhile to see what they've done... Hopefully they won't think I'm stalking...haha.
I hope to continue blogging ... DIY's, home searching.... Etc. I also hope you will all continue to join me on this exciting and new journey. I won't be using this blog address anymore.... I feel I need a new beginning and retire this one with the house. So please join me here: 3 Vogel

Friday, July 18, 2014

Friday, March 21, 2014
DIY TV Console
The B man did it again. What did he do? He made me a TV CONSOLE...
After months of trying to find the right media console, with no avail...
I soon came across a blog I follow, craftsmandrive.com and..Eureka! This was perfect! So the hubs got to it and here are the results:

I changed the stain from the original dark walnut (used in the inspiration piece) to a weathered grey. And as to not bore you with all the details and pics of us cutting, sanding and staining the piece, just tap the link above to get directions and dimensions on how to build this great tv console. Notice we didn't add the middle brace piece, like in the original. I would definitely add it if I were to place the tv on the unit. I kinda regret not adding it...it would have helped hide those darn cords!


After months of trying to find the right media console, with no avail...
I soon came across a blog I follow, craftsmandrive.com and..Eureka! This was perfect! So the hubs got to it and here are the results:
I changed the stain from the original dark walnut (used in the inspiration piece) to a weathered grey. And as to not bore you with all the details and pics of us cutting, sanding and staining the piece, just tap the link above to get directions and dimensions on how to build this great tv console. Notice we didn't add the middle brace piece, like in the original. I would definitely add it if I were to place the tv on the unit. I kinda regret not adding it...it would have helped hide those darn cords!
B man will be making a second one for his sister too.... can't wait to see how hers turns out and what stain she'll choose. I still need to play around with the 'stuff' displayed, add some baskets, and maybe a figure out a better way to hide those pesky cords!
A big thank you to www.lizmarieblog.com and her husband's blog, www.craftsmandrive.com
for the inspiration and tutorial.
Thursday, September 5, 2013
Additions
Deck updates are coming along nicely.

Here is a picture of the before shot of one of our decks. In the photo you can see the posts..


Frame then added plastic roof...talk about having serious heart palpitations! Watching the B man on the roof was rough...


Added weather proof curtains and outdoor furniture.. now it's ready for a BBQ. And if it rains, it's all good.


Painted the wall on the 'parking structure' and added metal fish.


Continuing to add wood board and batten siding around the bottom half of the house. Also painted the shop door.
Adding, adding, adding...whew!
Friday, June 28, 2013
Deck Part One

Focus on the columns. They look, I think too, eh... blah for the deck.

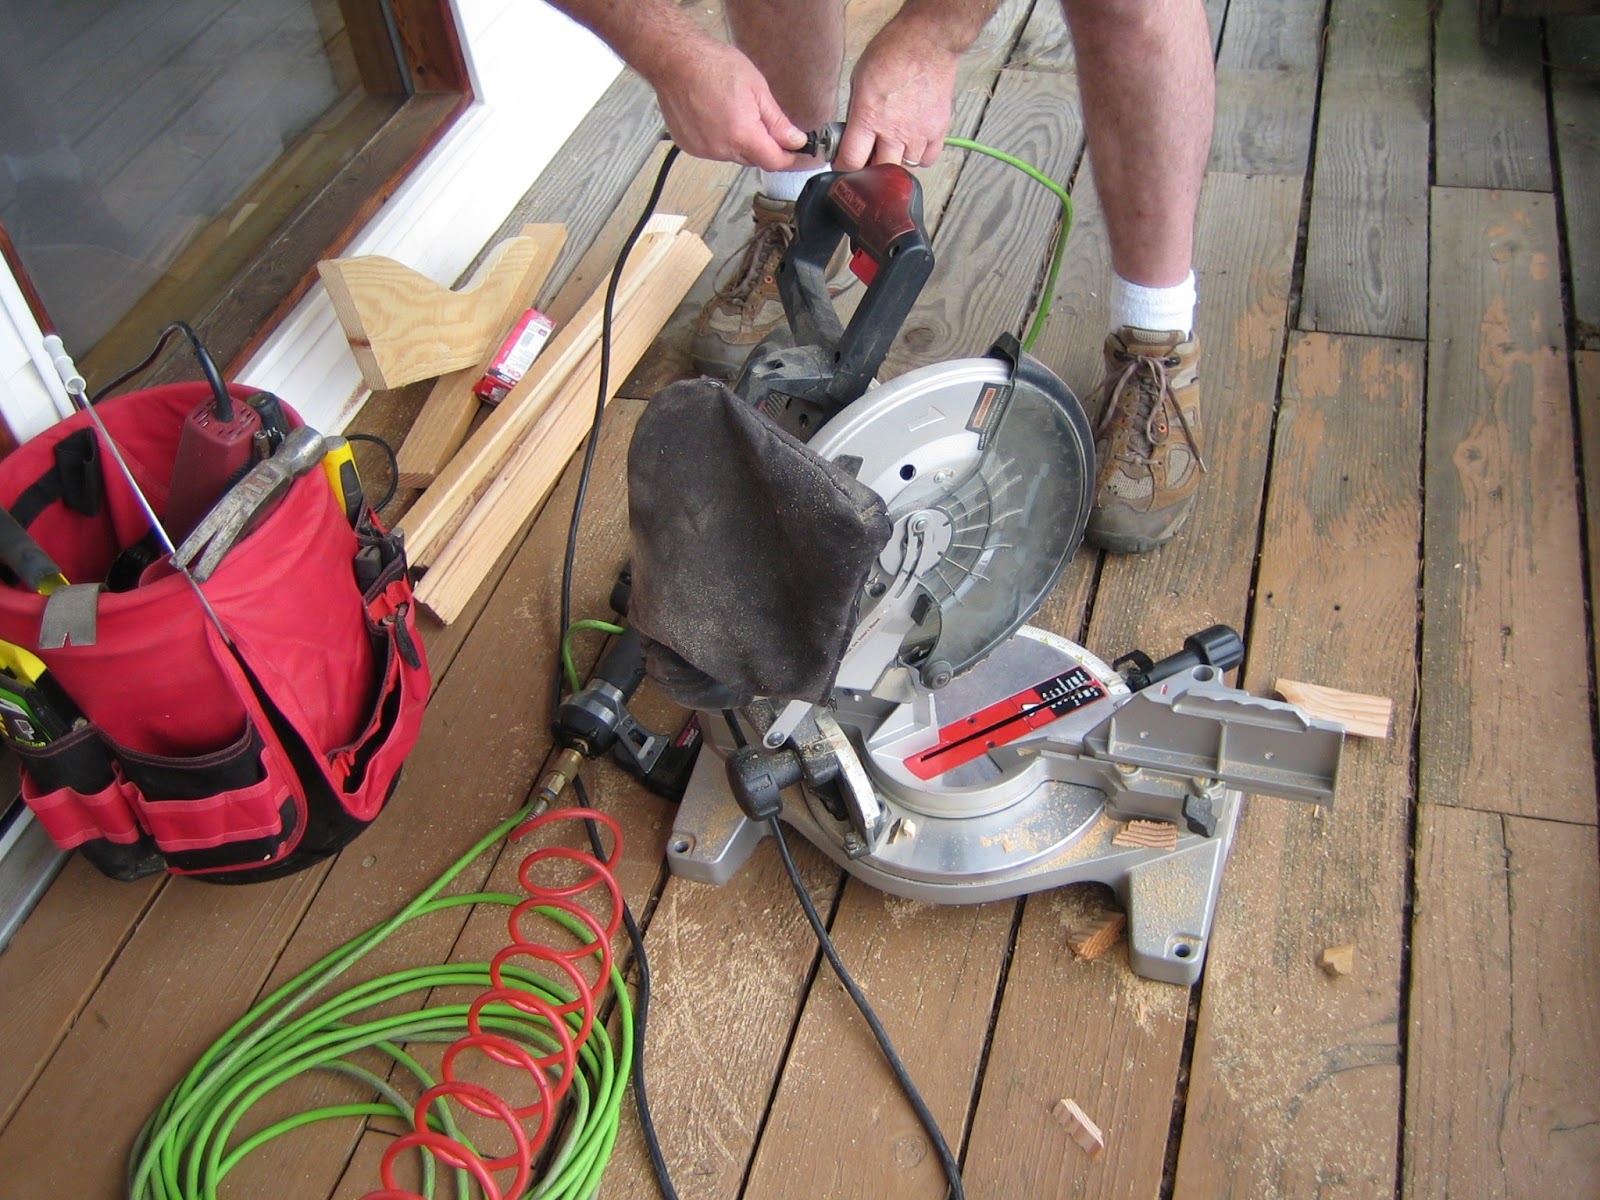
Enter in a miter saw, scrap wood, oh.. and yes, the Man.


Much better. Still need to stain/paint them.

We replaced all the old, rotten boards on this end of the deck. As you can see in the picture above, we have two posts on each end waiting for an addition. A pergola! Stay tuned..


But for now, hubs n I are going to enjoy this beautiful sunshine and go canoeing..
Fireplace Reface
The top half of our fireplace always felt like it needed something more substantial added since we moved in.
Before and After:

 I
I
I found some of these old tongue and groove planks around the property we live. Thought they'd look amazing on top of the fireplace, gives it a little character.

They were dirty, full of chicken poo (part of a coop), and chocked full of rusty nails... gotta love patina:)
The ole hubs was wanting to sand and stain 'em first!
Ha, ha, ha silly boys!
If These Chairs Were Made for Walking
They'd walk all over you! Ha, ha....
I decided to remove the area rug from under the dining table, but by doing that I needed some way to slide the chairs in and out without scratching the wood floors. So I asked dear ole mom to knit me some 'socks' for the chairs.


They look like they should take off walking...

Monday, June 24, 2013
Whoa!
Lately, here in the Northwest we have had nothing but rain. And I am talking about heavy downpour, get out the oars kinda rain.
But what's amazing about Summer rain around here, is the beautiful sun kissed bursts of clouds. Whoa..


Check, and Check


Back splash done... check.
Mirror installed, err..semi check.
Had the oval mirror on hand so we hung it temporarily for now. We thought we'd leave the wall empty til we found a mirror but it felt so closed in, claustrophobic. Would still either like to make a larger, more substantial mirror or purchase one at an amazing price. This one will work for now...and you can't beat free! We had a lot of extra tile left so probably will wrap the top side of the shower stall. For now...its done..check.
Monday, May 6, 2013
Vanity Install
As you recall from the previous post, I promised an update on the vanity install:


The before. Disconnecting the plumbing.

Taking the old vanity out, see what I meant by how the previous owners didn't tile underneath?

Setting the new one in and leveling....

This is where it got difficult... the new vanity had sets of drawers on the sides, so the hubs had to cut new holes and shorten some of the shelves..

After adding the granite top. The vanity came with top and Kohler faucets!

I had purchased this glass tile over a year ago... I think it will work well as a back splash.

Changed out the hardware and added these. The old hardware were a pewter leaf design.

Here it is in all its glory! Had to remove mirrors since they don't center with the light fixtures or faucets. That is our next DIY project... making one, long mirror.
Friday, April 26, 2013
Working on My Vanity
No, it isn't my personal vanity issues that have been 'fixed'. I wish:/
It is the main bath vanity that resides in my
home. It had some issues that needed work as well:

From the picture it looks great. I wish I had pictures from when we first moved in. The faucets were basic, cheap cheap. The medicine cabinet was a huge mirrored nightmare, and the lights were the oh, so loved light bar.
We did upgrade quite a bit... the problem you ask?
The vanity height is 31", the cabinet is laminate, and although I love walnut countertops..in the bathroom, it's a little too much up-keep for this OCD gal.
I think the height had to be the worse though...
We looked at double vanities like this from Home Depot

But at $1498, it was a little steep.
So then I was thinking maybe to do two separate sinks like this from Lowes

$239, not bad... but the measurements would have to be right on since it's surrounded by walls.
The hubs also wanted more storage capacity. So we kept shopping.
Then the bad news. The previous owners did not tile under the cabinet! Yes, we could rip up the tile and retile with new stuff, that ya, I would have loved to do if it was on someone else's dime, ha!
This 'quick and easy' project was turning into a major under taking, and we weren't ready for it, both physically or financially.
So, with that in mind, we had to find a 60" vanity that went down to the floor, with storage.. and at a reasonable price..
Then came my third thought: Find a buffet/dresser and make my own. Like this:
Again finding the right dimensions was near impossible. Craigslist, yard sales, thrift stores were my closest friends for months.
Then... a nice surprise came our way via Craigslist.... a double sink vanity with the right dimensions! Yes!
Was it the perfect color? Not really.
Did it come with some problems? Uh, ya.
Next post will answer these questions and show you what we ended up with:)
Sunday, March 17, 2013
Putting Up Walls
No, this isn't a post about my emotional issues, haha. I actually put up a wall, a half wall, so as to have some separation from the dining room and entry. A faux mudroom lets say..


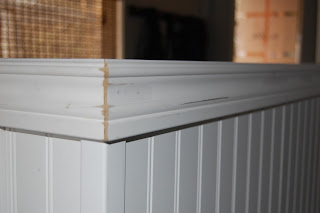


I taped off a section (a pretend wall), to see if I liked the the height and length. I lived with this for a few days to make sure.


The hubs started with a frame and stapled bead board on. We added molding and capped it with a top...


After sanding, caulking, and painting we had a half wall.


I added hooks for coats, leashes etc... makes more of a 'mudroom' feel. I still want to make an IKEA trip to find some sort of shoe cabinet/bench for storage and of course somewhere for our butts to sit to put on/off our shoes.

Subscribe to:
Posts (Atom)